How to Build Glass-and-Board Shelves
How to Build Glass-Block-And-Board Shelves

I use these shelves in my Godly Play room in Alexandria, Virginia. I owe credit for the idea to my Godly Play trainer colleague, Kim McPherson.
MATERIALS NEEDED:
For each level of shelf, you need
- 4 glass blocks, 8x8x4” (about $8 each)
- 2 plastic vertical spacers to assemble blocks into 16x8x4 bricks.
- 1 finished board 48”x16”x3/4” (about $12 each)
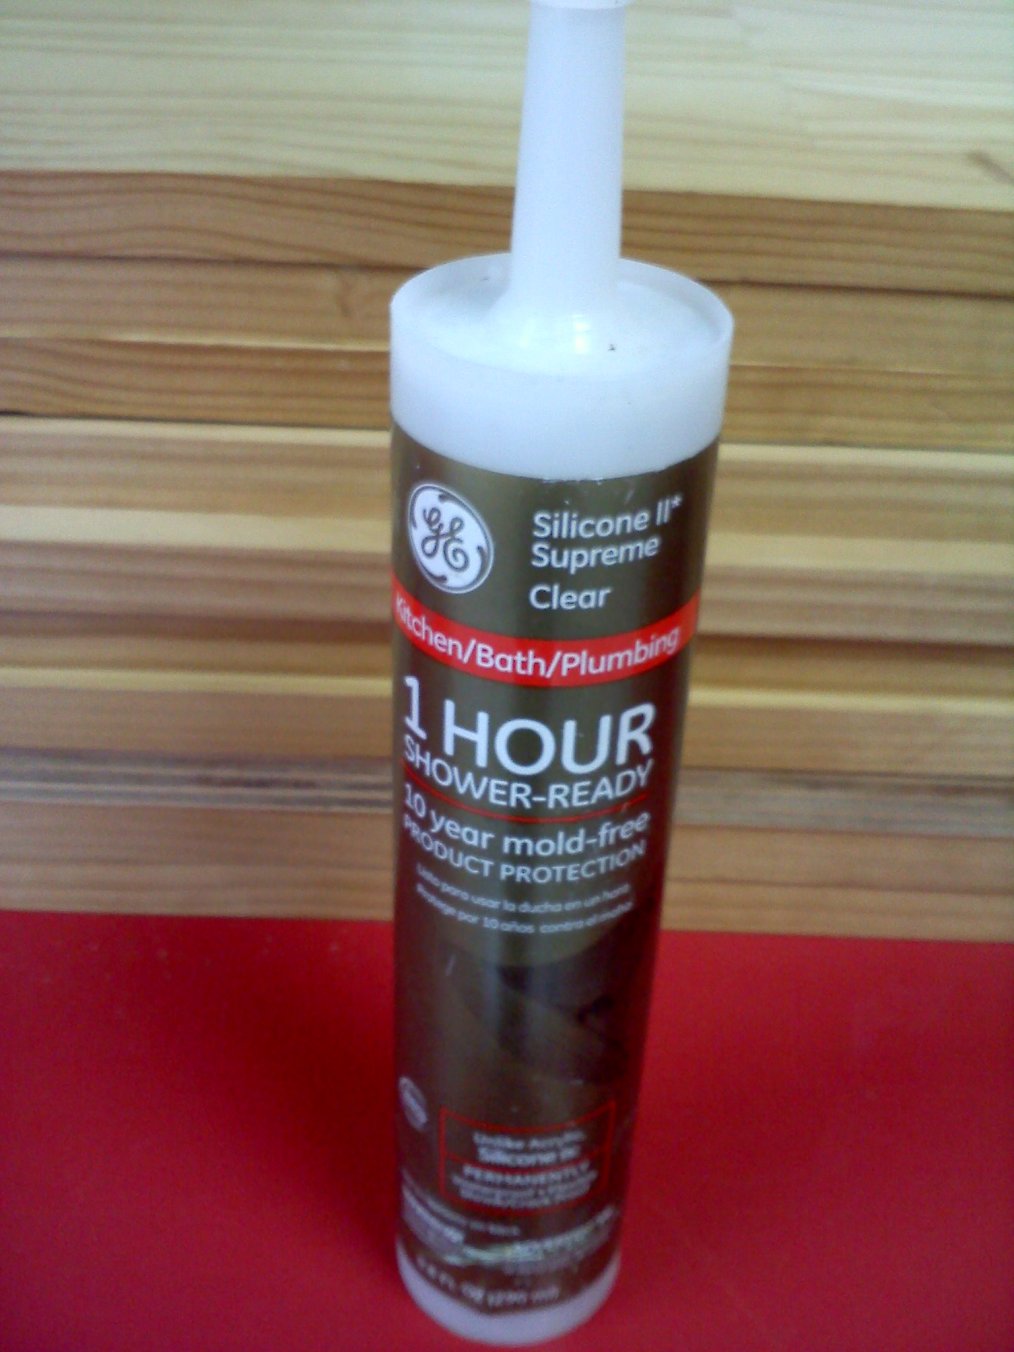
- Silicone caulk (one tube is more than enough for the shelf above), about $5
- Caulking gun (about $5)


(For 4 shelves high, as pictured above, you need 16 blocks and 4 boards, at a cost of about $186. You may be able to reduce this cost.)
I have used these shelves for five years with children ages 4 to 11 and have had no accidents. I have 15 to 18 children at a time in the room. They learn to move carefully in the room and never to lean against the shelves.
To construct:
Begin at least 24 to 48 hours before you really need the shelves!
Prepare Caulk:
 <<<<<<Snip end of caulking tube by inserting tip into the round hole below the squeeze handle.
 Then poke thin rod (attached to the caulk gun) into the tip, to puncture the foil seal inside.

Load caulk into caulk gun by pulling spring-loaded handle up and inserting tube..
 Squeeze the trigger to apply caulk to each corner of one block (about the size of a nickel).
Then apply one vertical spacer. These are 8” long, thin plastic, with a “ditch” in the middle that matches up with the ridge in the center of each block.
I found spacers in two styles from the same brand and I show the labels here because staff at Lowe’s and Home Depot did not recognize the term “vertical spacers.”

Press firmly and slide the spacer into place, if necessary, so that the center ridge matches up with the ditch in the center of the block.
 Apply caulk to the corners of the spacer.

Then place second glass block on top of the block with the spacer. Slide and press into place. ALLOW TO DRY FOR AT LEAST ONE HOUR. (The caulk I used advertises that it dries “shower-ready” in one hour, but I always gave it more time than this.)

 For the bricks that will be on the bottom, I use felt pads to protect the tile floor.
 Almost there!! Now it’s a simple matter of placing the finished, dry bricks in the spaces where you want your shelves to be. Plan carefully, because once the shelves are in place, you can’t move them without disassembling the boards and bricks. (I know this because I once tried to shove the whole thing over a few inches. Yes, these blocks DO break when you do something stupid.)
Place two bricks roughly 48” apart (you will want the boards to hang over a bit) and lay a board over it. It is not necessary to attach the boards to the bricks. This is the familiar cinderblock-and-board construction method of your college days, but isn’t this much prettier?

There are many beautiful ways to create shelves for a Godly Play room. This is only one way!
Why use the spacers?
This is a great question, Christina. I think you need them to cushion the two glass pieces. I was told to do it this way and I didn’t try caulking the two blocks together without the spacers. You can experiment if you like . . . but the spacers are inexpensive and work well!
Rosemary
Thanks, this really helped me! I just bought someone’s blocks and shelves – but they were apart and so I needed to see what they looked like together … her glass blocks … well, I mean mine, now … are one foot square so I didn’t have to join them. It is a little wobbly but for $85, I’m happy!
Hi, Mary Jeanne, Yes, I’d be happy for $85 too!! I haven’t seen those 12-inch cubes . . . I like that I can have my shelves 16″ deep for larger stories, and only give up 4″ of the board length to the blocks (well, 4″ at each end) — but as I said for $85 I would work with it! Well done 🙂
Rosemary
Well, thank you for sharing this project….. it is exactly what I am looking for!
Cheers,
Any place in particular that you found your finished boards?
Sorry for the delay – I’ve been out of town.
I found everything I needed at Lowe’s. You can always use rough boards and sand them, but I am thankful for the shrink=wrapped nicely finished boards! I built my shelves 7 years ago but I feel sure these items are still available. Good luck!